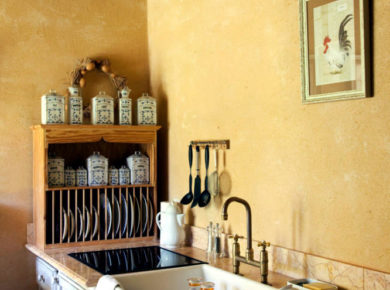
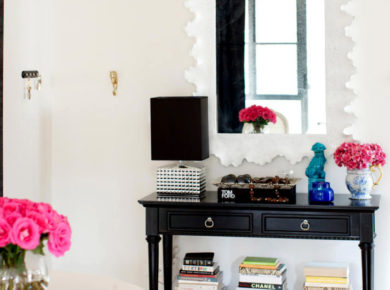
Give your kitchen a new look by designing the back wall with a beautiful glass mosaic. These tile-laying instructions are simple and can be completed in a weekend. A new tile backsplash is more than just a way to refresh your kitchen style. It protects the rear wall from cooking grease and dirt and is easy to clean. Beautiful and useful.
1. Instructions for installing the tiles – check and prepare the surface

Glass mosaic tile can be applied to any clean, solid wall. Remove wallpaper or flaking paint. Sand the wall and sweep away sanding dust so the adhesive can bond well. Before you begin, gather all the tools and materials you'll need for the project.
2. Instructions for installing the tiles – measure and plan the layout

Glass mosaic is mounted on sheets and sold as panels. Check your layout before you start. Mosaic sheets can be cut with a knife as needed. Remember to leave a space between the tiles and the bottom of the wall cabinet, no more than half a glass tile. You can start your tile line directly along the countertop or leave a small gap to fill later. Mark the position of the square mosaic sheets before removing the backing strips.
3 Apply the tile adhesive

Cover the countertop with newspaper or cloth. Apply a thin layer of tile adhesive to the wall and smooth it carefully with a spatula.
4. Set the mosaic tiles


Lay the glass mosaic sheets and align them with your marks; the thin layer of adhesive should remain visible between the tiles. Keep the joints between panels consistent by using tile spacers. Then press firmly on the wall with your fingers or a clean grout float.
5. Apply the grout

Let the tile adhesive cure, usually for 12 hours. Mix the grout. Work the grout into all gaps by moving the grout float vertically, horizontally and diagonally. Fill all the joints between the tiles.
6 Clean mosaic


Clean the tile with a damp, not wet, sponge to remove excess grout. Wipe with a dry towel.
7. Seal the grout

To make maintenance easier, the joints should be sealed with silicone or another special spray product. This reduces the risk of staining and mold.


 Anna Lohan

 miranda_shida
 Peter Dark